In this blog post, we will explore how to send 15,000 emails per month for free using SendPulse’s SMTP service. We will cover topics such as the best free SMTP server, how to obtain a free SMTP server, SendPulse SMTP relay, SendPulse SMTP settings, and using SendPulse as an SMTP relay with another ESP. Regardless of the method you choose, it is important to verify your domain to ensure successful email campaign delivery.
How to send 15000 emails/month for free using SendPulse?
The process is very simple. Please follow the given procedure below:
- Sign up for a SendPulse SMTP account if you haven’t done so already. You can access the login page at the following link: https://sendpulse.com/register
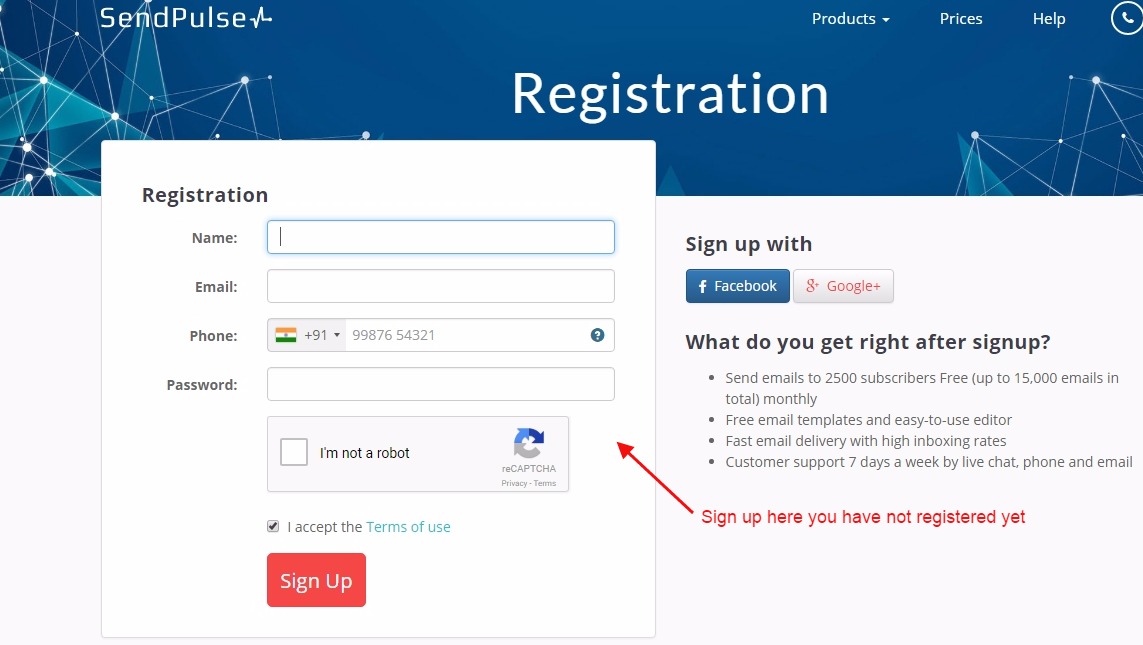
- Verify your email address by signing up for SendPulse SMTP. After signing up, you will receive a verification email in your inbox. Simply check your email, click on the verification link, and your email address will be verified.
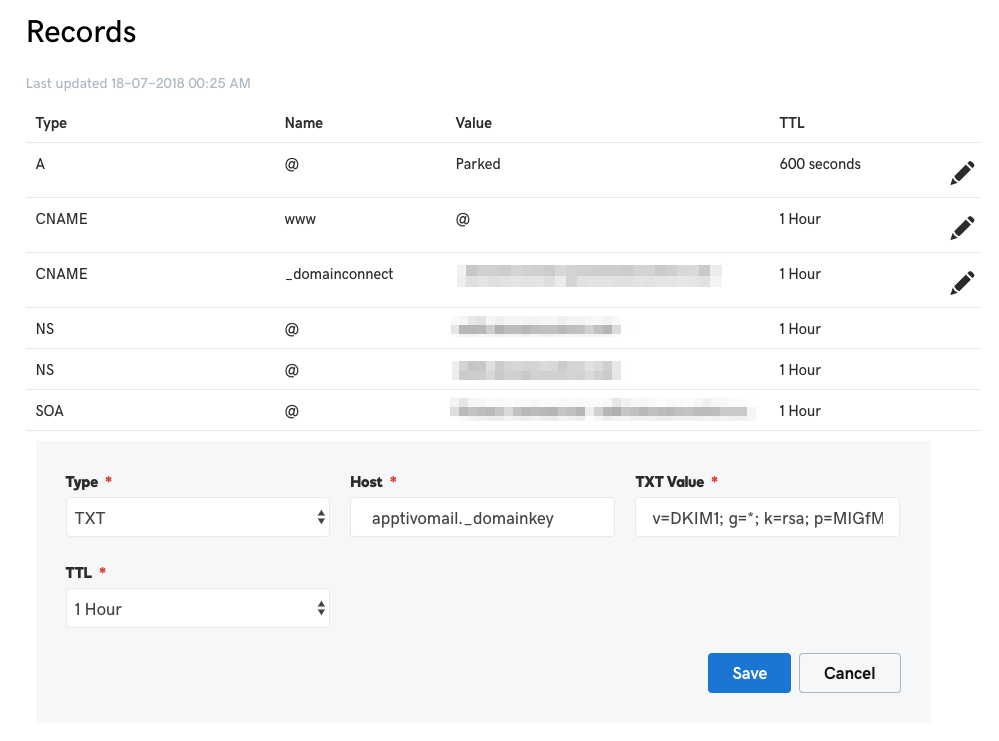
- Verify your domain. To verify your domain address, you need to add the SPF and DKIM records (provided in your SendPulse SMTP account) to the domain hosting site where you purchased your domain.
How to get the SPF and DKIM from SendPulse SMTP?
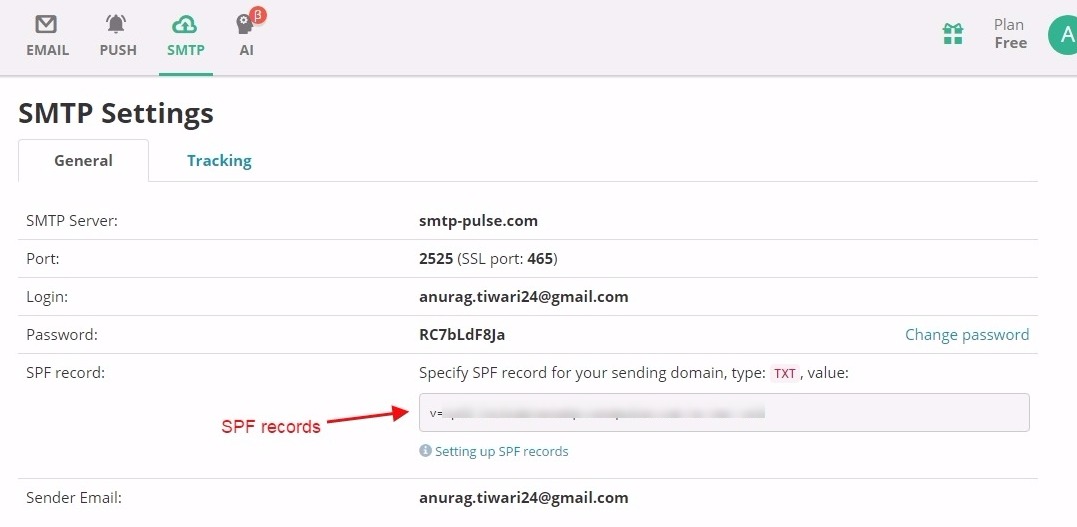
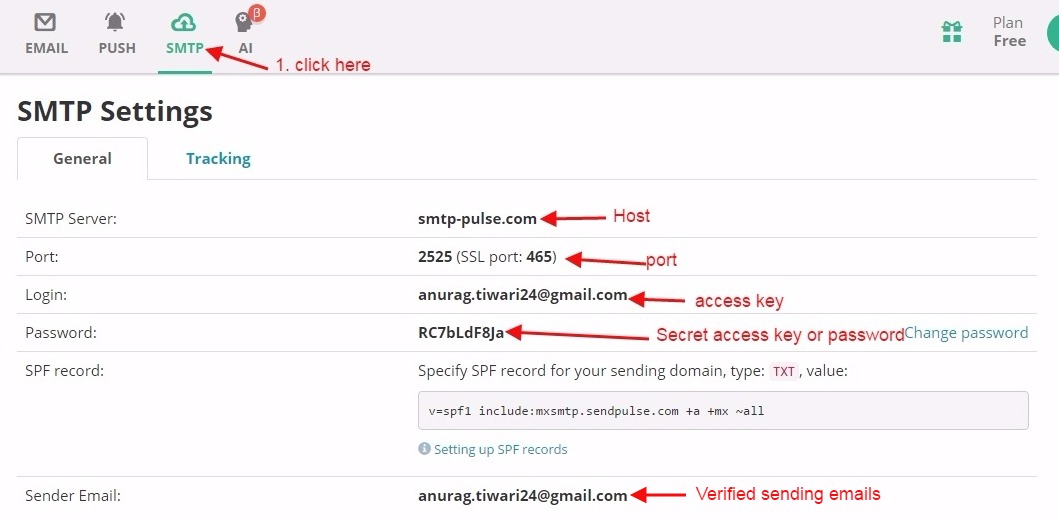
SPF: Just follow the below procedure for the same. Click SMTP Setting>>SMTP then you will get the SPF records here.
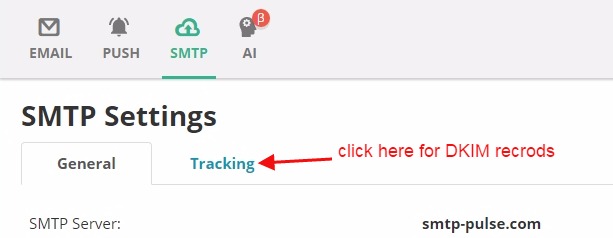
DKIM: Go to SMTP Setting>>Tracking
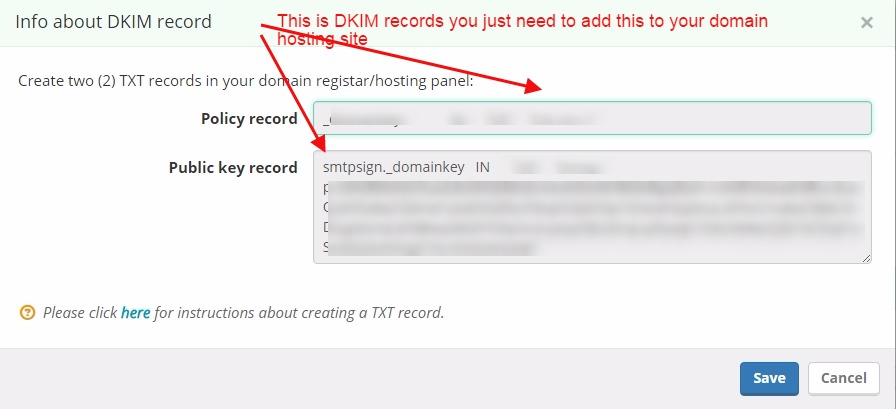
To verify a domain and obtain the DKIM key for that domain in SendPulse SMTP, follow these steps:
- Add an email address to the domain that you want to verify.
- After adding the email address, click on “Create Domain Key” to generate the DKIM key for the corresponding domain.

Here you get the value of the record for DKIM.
Steps to setup DKIM Record in Godaddy Domain
Log in to your GoDaddy account.
Log in to your GoDaddy account.
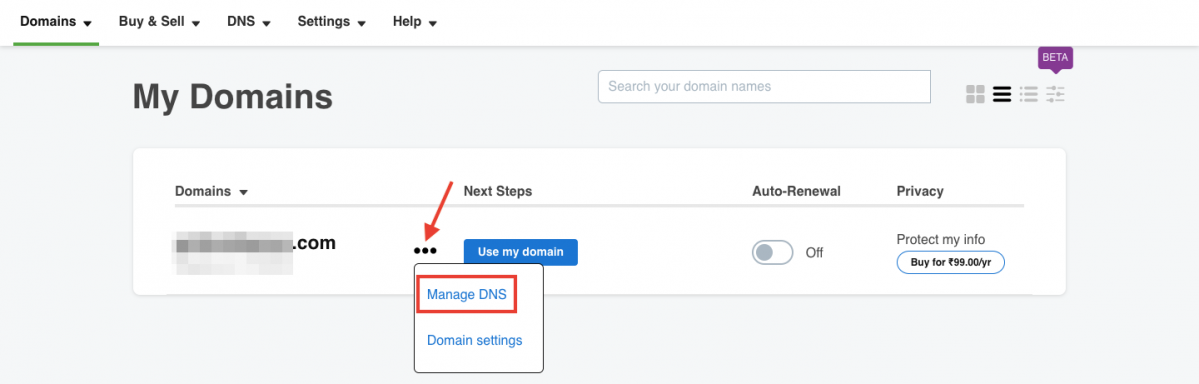
Click the Username at the top-right and click Manage Domains.

In the My Domains dashboard, click the More icon (…) next to your domain and click Manage DNS option from the drop-down.
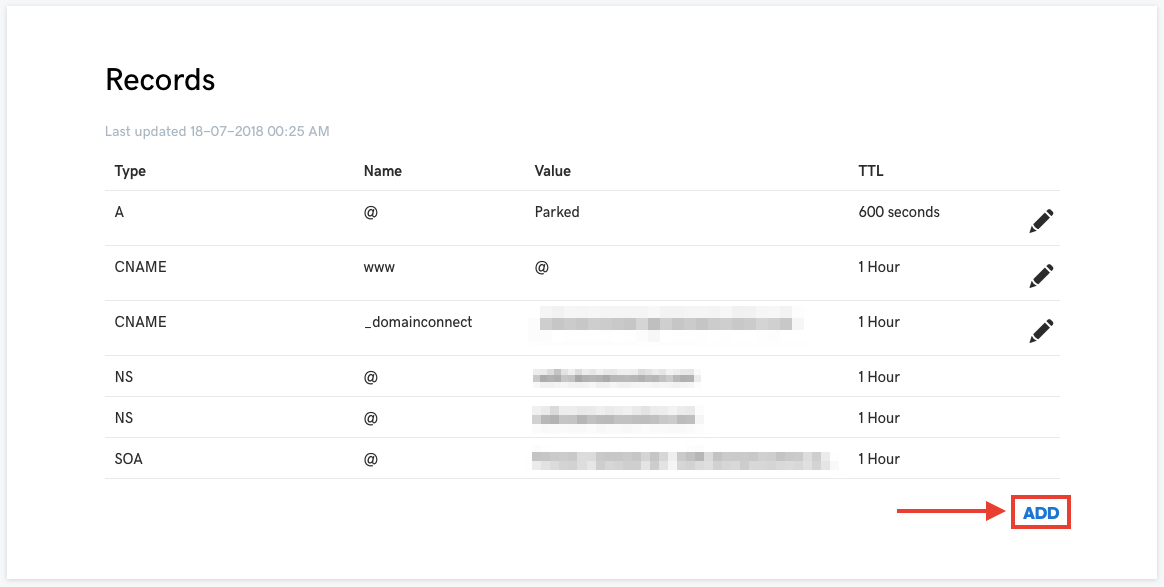
In the page next, click ADD button under the Records section.
The SPF and DKIM setup configuration are more or less the same. Here, you can use the same methods for the other hosts to be integrated
How to create an email, upload contacts, and check tracking reports?
SendPulse offers you all of these features for uploading contacts, creating emails, and reviewing tracking reports. Please navigate to the “Emails” tab. Refer to the image below for guidance on the same.

How can you send emails with a third-party ESP using the SendPulse SMTP relay service?
To use SendPulse SMTP, you will require the following parameters:
- SMTP Name: SendPulse
- HOST: smtp-pulse.com
- PORT: 465
- From Email (Verified in SMTP): Enter the email address that you have verified in your SendPulse account.
- USERNAME/API: Enter the login email you obtained from your SendPulse account.
- Password/Secret KEY: Enter the password you obtained from your SendPulse account.
Once you have gathered all of these parameters, you can send emails through a third-party Email Service Provider (ESP) using SendPulse’s SMTP relay service.
How can I obtain these parameters through SendPulse SMTP?
You can obtain these parameters within your SendPulse SMTP account by following the procedure below. Access the SMTP Settings and retrieve the mentioned parameters as requested above.
Get sendpulse’s $10 discount code
Visit this link to get sendpulse discount code : https://bit.ly/3PCdSzo

